저번까지 google calendar api와 auth5를 연동하는 것을 했었다. 그리고 openai api와도 연동해서 가장 기본적인 챗봇을 만드는 과정까지 했었다. 이번엔 구글 캘린더와 AI를 연동할 차례다.
먼저 코드 흐름을 살펴보면 간단하게 아래와 같은 모양이다.

클라이언트에서 인풋을 받아서 API request하면 API에서 서버 파일(lib/googleClient.ts)에 있는 함수를 호출한다. 그리고 거기까지 온 데이터를 가지고 googleCalendar api에 request를 날려 request.data를 리턴하는 형식이다.
앞으로 나는 AI와 대화하면서 AI가 직접 request 요청을 날리는 로직을 구현할 것이다. 그전에 먼저, 일단 API를 테스트 해보기 위해 수동으로 API요청을 날릴수 있는 간단한 폼을 다음과 같이 만들었다.
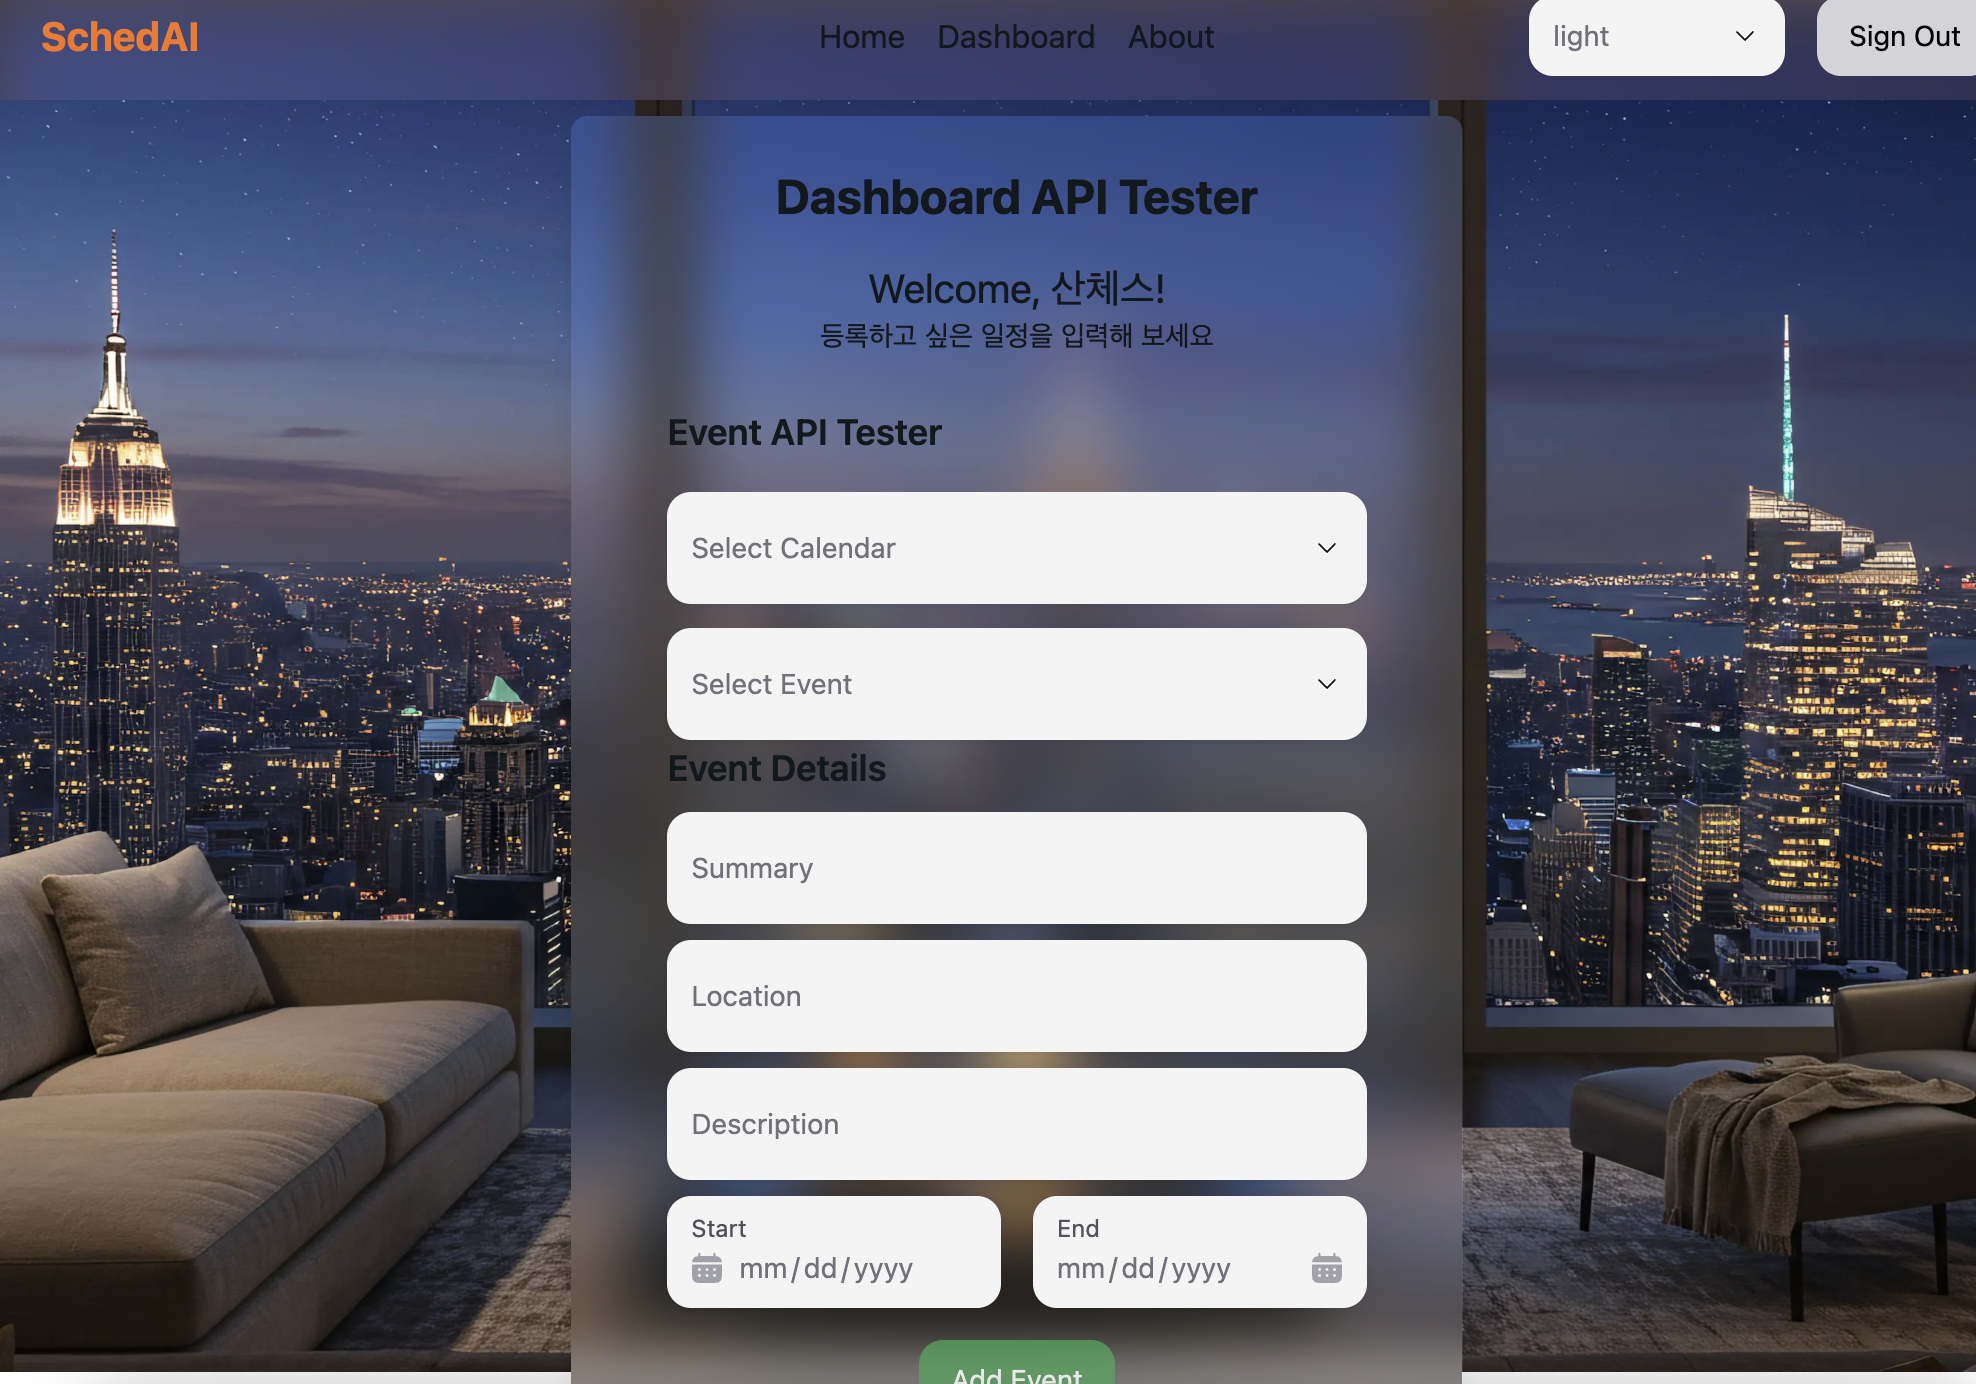
이번에 구글에서 새로나온 이미지 생성 디퓨전 모델인 image-fx로 펜트하우스에서 뉴욕배경을 바라본 샷을 background image로 하였는데 나름 만족스럽다 ㅎㅎ. 하지만 자세히 보면 불빛 부분이 살짝 뭉개지는 건 어쩔수 없는 것 같다. 관심이 있다면 아래 링크로 들어가 보면좋다.
Google ImageFx 사용 후기 : 인물묘사 최강 이커머스 자동화
이커머스를 위한 최고의 이미지 생성 AI: Google ImageFx 사용 후기 이커머스 사업을 하면서 정말 이미지 하나하나가 얼마나 중요한지 절실히 느끼고 있는데요, 원하는 이미지를 찾거나 제작하는
eliclosetshop.tistory.com
처음 AI가 생성해줄때 클라이언트에서 requestbodytyped을 지정도 안해줬을 뿐더러 title 이런식으로 요청을 날려서 오류가 계속 났다. 그리고 버튼도 원래 4개의 버튼이 다있었다. 이벤트 생성, 삭제, 수정, 조회까지. 사실 생성, 삭제, 수정만 있으면 되고, 이벤트 생성 빼고는 event가 이미있어야지만 활성화 되는게 맞았다. 그리고, calendarId가 필요하다는 사실도 알게 되었다.
컴포넌트를 만들어
<CalendarSelector/>를 만들어 세션정보의 userId를 빌려 prisma acccout에서 유저의 calendar목록을 가져오는 로직을 구현하고. 가져온 캘린더 목록을 dropdown으로 만들어, calendarId만 받을 수 있게 구현하였다.
# CalendarSelector.tsx
"use client";

import { CircularProgress, Select, SelectItem } from "@nextui-org/react";
import { useEffect, useState } from "react";

interface CalendarSelectorProps {
  userId: string;
  onSelect: (calendarId: string) => void;
}

export default function CalendarSelector({
  userId,
  onSelect,
}: CalendarSelectorProps) {
  const [calendars, setCalendars] = useState<{ id: string; summary: string }[]>(
    []
  );
  const [loading, setLoading] = useState(false);
  const [error, setError] = useState<string | null>(null);

  useEffect(() => {
    const fetchCalendars = async () => {
      if (!userId) {
        setError("User ID is required to load calendars.");
        return;
      }

      setLoading(true);
      setError(null);

      try {
        const res = await fetch(`/api/calendar?userId=${userId}`);
        const data = await res.json();
        setCalendars(data);
      } catch (err) {
        console.error("Failed to fetch calendars:", err);
        setError("Failed to fetch calendars.");
      } finally {
        setLoading(false);
      }
    };

    fetchCalendars();
  }, [userId]);

  if (loading) return <CircularProgress />;
  if (error) return <p className="text-sm text-red-500">{error}</p>;

  return (
    <div>
      <Select
        label="Select Calendar"
        onChange={(e) => onSelect(e.target.value)}
      >
        {calendars.map((calendar) => (
          <SelectItem key={calendar.id} value={calendar.id}>
            {calendar.summary}
          </SelectItem>
        ))}
      </Select>
    </div>
  );
}
위와 마찬가지로 <EventSelector/>도 만들어서 calendarId를 통해 이벤트를 받아올수 있게 하였다.
모두 정해지면 이제 이벤트 정보를 입력해서 API가 잘되는 지 보는일만 남았다.
# RequestBody Type지정 : 다양한 요청(CRUD)을 날려야하기 때문에 필요한 모든 데이터를 담았다.
  interface RequestBody {
    userId: string;
    calendarId: string;
    eventId?: string;
    eventDetails: {
      summary: string;
      location?: string;
      description?: string;
      start: { date: string };
      end: { date: string };
    };
  }
# submit Button 전체코드
      <div className="flex justify-center flex-wrap gap-4">
        {[
          { label: "Add Event", method: "POST" },
          { label: "Update Event", method: "PUT" },
          { label: "Delete Event", method: "DELETE" },
        ].map(({ label, method }) => (
          <Button
            key={label}
            className={`${
              method === "DELETE"
                ? `${selectedEventId ? "" : "hidden"} bg-red-500`
                : method === "POST"
                ? "bg-green-500"
                : `${selectedEventId ? "" : "hidden"} bg-blue-500`
            } text-white bg-opacity-60`}
            onPress={() =>
              handleApiRequest(`/api/calendar`, method, {
                userId,
                calendarId: selectedCalendarId,
                eventId: selectedEventId,
                eventDetails,
              })
            }
          >
            {label}
          </Button>
여기서 요청하면 아래로 라우팅 된다.
api/calendar/route.ts
export async function POST(req: NextRequest) {
  const { userId, calendarId, eventDetails } = await req.json();

  if (!userId || !calendarId || !eventDetails) {
    return NextResponse.json({ error: "Missing parameters" }, { status: 400 });
  }

  try {
    const newEvent = await addEventToCalendar(userId, calendarId, eventDetails);
    return NextResponse.json(newEvent);
  } catch (error) {
    return NextResponse.json({ error: error.message }, { status: 500 });
  }
}
여기에서는 임포트되어있는 addEventToCalendar함수를 호출한다.
export async function addEventToCalendar(
  userId: string,
  calendarId: string,
  eventDetails: {
    summary: string;
    location?: string;
    description?: string;
    start: { date: string };
    end: { date: string };
  }
) {
  const calendarClient = await createGoogleCalendarClient(userId);

  // Google Calendar API에 전달할 requestBody
  const requestBody = {
    summary: eventDetails.summary,
    location: eventDetails.location || "",
    description: eventDetails.description || "",
    start: eventDetails.start, // 이미 { date: "YYYY-MM-DD" } 형식
    end: eventDetails.end, // 이미 { date: "YYYY-MM-DD" } 형식
  };

  const response = await calendarClient.events.insert({
    calendarId,
    requestBody,
  });

  return response.data;
}
여기까지의 과정을 통해 이벤트가 추가된다.
잘 나오는지 확인해보자
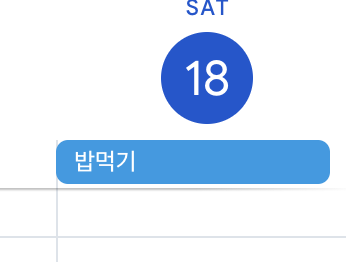
이벤트가 잘 입력됐다.
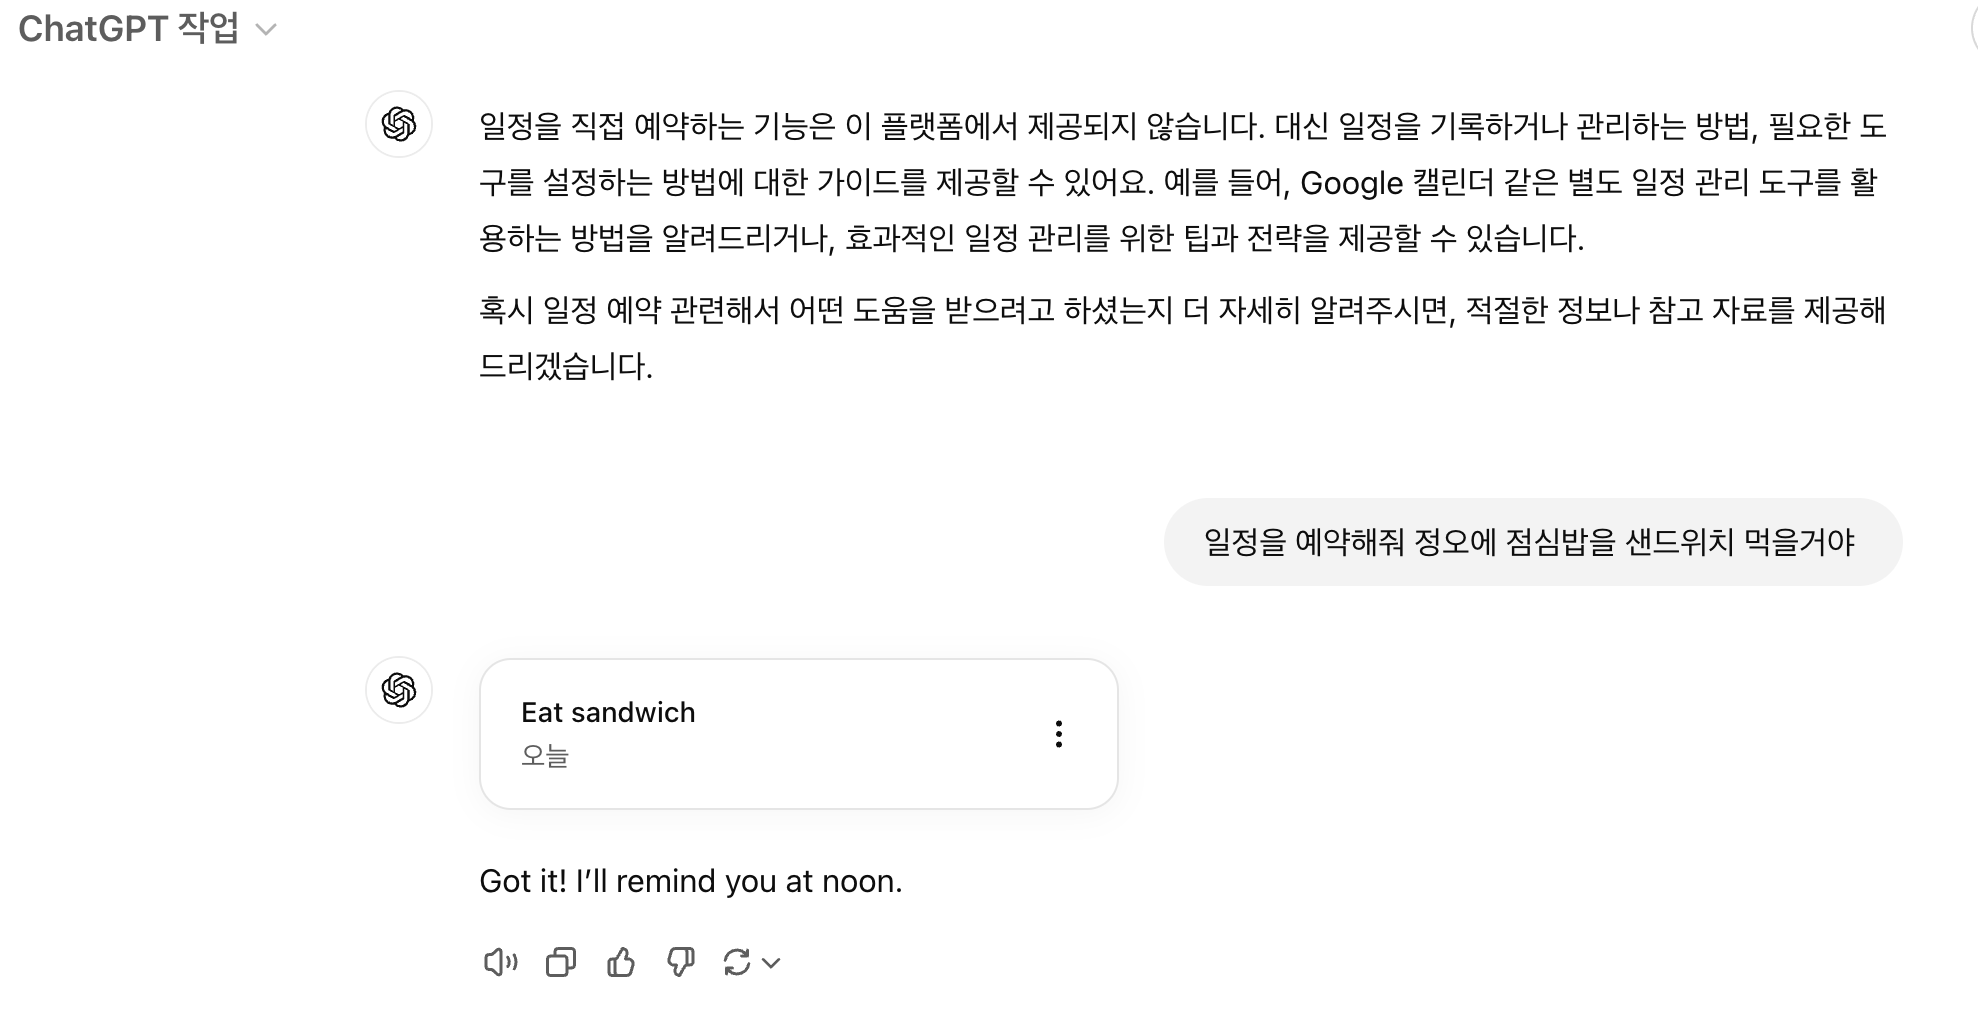
오늘 gpt를 둘러보다가 이런걸 발견했다. 내가 만드려고 한게 떡하니 있었다. GPT한테 선수 뺏겼다 ㅠㅠㅠ
아직은 웹푸시 수준이지만, 그래도 아직 구글캘린더와 연동하는 기능은 없으니 다행이다.(왠지 생길거같음)
'코딩' 카테고리의 다른 글
| SchedAI 개발기 ep 6. NextAuth v5 & GoogleAPI "Insufficient Permission"에러 (1) | 2025.01.19 |
|---|---|
| Google ImageFx(Imagen3) 사용 후기 : 인물묘사 최강 이커머스 자동화 이메진3 (5) | 2025.01.18 |
| SchedAI 개발기 ep 4. 오늘의 뻘짓 AccessToken, RefreshToken (0) | 2025.01.17 |
| SchedAI 개발기 ep 3. 시작되는 난관 (1) | 2025.01.16 |
| SchedAI 개발기 ep 2. 개발 계획 하나하나수립 (1) | 2025.01.16 |


