반응형

저번에는 요구사항 명세서를 작성했었고, 이번엔 요구사항 명세서를 기반으로 각각 파트마다 개발기획을 했다.
옆에와 같이 요구사항명세서를 기반으로 하나하나씩 답변을 얻어가며 AI에게 개발기획을 맡겼다.
아래는 구체화 개발기획에서 6.2만 발췌한 것이다.
6.2 사용자 인증 구현 (Prisma Adapter 및 Auth.js 기반)
목표: Google OAuth와 Prisma Adapter를 사용하여 Auth.js 기반의 사용자 인증 시스템을 구현합니다. 이를 통해 데이터베이스와 통합된 인증, 세션 관리 기능을 제공합니다.
1. Google OAuth 설정
- Google Cloud Console에서 설정:
- 새 프로젝트 생성:
- Google Cloud에서 새 프로젝트 생성.
- OAuth 동의 화면 설정:
- 애플리케이션 이름, 이메일, 도메인 정보 입력.
- 테스트 사용자 추가.
- OAuth 2.0 클라이언트 ID 생성:
- 애플리케이션 유형: 웹 애플리케이션.
- 승인된 리디렉션 URI:코드 복사
http://localhost:3000/api/auth/callback/google- bash
- 생성된 Client ID와 Client Secret을 기록.
- 새 프로젝트 생성:
- 환경 변수 설정:
- 프로젝트 루트에
.env.local파일 생성:코드 복사 AUTH_GOOGLE_ID=your-client-id AUTH_GOOGLE_SECRET=your-client-secret NEXTAUTH_URL=http://localhost:3000 NEXTAUTH_SECRET=your-random-secret DATABASE_URL=postgresql://USER:PASSWORD@HOST:PORT/DATABASE?schema=public- env
- 프로젝트 루트에
2. Prisma 설정
- Prisma 설치 및 초기화:
- 설치:코드 복사
npm install @prisma/client @auth/prisma-adapter npm install prisma --save-dev- bash
- Prisma 초기화:코드 복사
npx prisma init- bash
.env파일의DATABASE_URL로 데이터베이스 연결.
- Prisma 스키마 설정:
/prisma/schema.prisma파일에User,Account,Session모델 추가:코드 복사model User { id String @id @default(cuid()) name String? email String @unique emailVerified DateTime? image String? createdAt DateTime @default(now()) updatedAt DateTime @updatedAt accounts Account[] sessions Session[] } model Account { id String @id @default(cuid()) userId String type String provider String providerAccountId String refresh_token String? access_token String? expires_at Int? token_type String? scope String? id_token String? session_state String? user User @relation(fields: [userId], references: [id], onDelete: Cascade) @@unique([provider, providerAccountId]) } model Session { id String @id @default(cuid()) sessionToken String @unique userId String expires DateTime user User @relation(fields: [userId], references: [id], onDelete: Cascade) }- prisma
- 마이그레이션 적용:코드 복사
npx prisma migrate dev --name init- bash
- Prisma 클라이언트 설정:
/src/lib/prisma.ts파일 생성:코드 복사import { PrismaClient } from "@prisma/client"; const globalForPrisma = globalThis as unknown as { prisma: PrismaClient }; export const prisma = globalForPrisma.prisma || new PrismaClient({ log: ["query"] }); if (process.env.NODE_ENV !== "production") globalForPrisma.prisma = prisma;- typescript
3. Auth.js 설정
- Auth.js 설정 파일 생성:
/auth.ts파일:코드 복사import NextAuth from "next-auth"; import { PrismaAdapter } from "@auth/prisma-adapter"; import { prisma } from "@/lib/prisma"; export const { handlers, auth, signIn, signOut } = NextAuth({ adapter: PrismaAdapter(prisma), providers: [ { id: "google", name: "Google", type: "oauth", wellKnown: "https://accounts.google.com/.well-known/openid-configuration", clientId: process.env.AUTH_GOOGLE_ID!, clientSecret: process.env.AUTH_GOOGLE_SECRET!, authorization: { params: { scope: "openid email profile" } }, profile(profile) { return { id: profile.sub, name: profile.name, email: profile.email, image: profile.picture, }; }, }, ], session: { strategy: "database", }, });- typescript
- API 라우트 설정:
/src/app/api/auth/[...nextauth]/route.ts파일 생성:코드 복사import { handlers } from "@/auth"; export const { GET, POST } = handlers;- typescript
4. 로그인 및 로그아웃 버튼 구현
- 로그인 버튼:
/src/components/sign-in.tsx파일:코드 복사"use client"; import { signIn } from "@/auth"; export default function SignIn() { return ( <form action={async () => { "use server"; await signIn("google"); }} > <button type="submit" className="px-4 py-2 bg-blue-500 text-white rounded"> Sign in with Google </button> </form> ); }- tsx
- 로그아웃 버튼:
/src/components/sign-out.tsx파일:코드 복사"use client"; import { signOut } from "@/auth"; export default function SignOut() { return ( <form action={async () => { "use server"; await signOut(); }} > <button type="submit" className="px-4 py-2 bg-red-500 text-white rounded"> Sign out </button> </form> ); }- tsx
5. 세션 관리 및 보호된 경로
- 세션 상태 확인:
useSession훅을 사용하여 세션 상태를 확인:코드 복사"use client"; import { useSession } from "next-auth/react"; export default function DashboardPage() { const { data: session, status } = useSession(); if (status === "loading") return <p>Loading...</p>; if (!session) return <p>You must be signed in to view this page.</p>; return <div>Welcome, {session.user?.name}!</div>; }- tsx
- 보호된 페이지:
- 인증되지 않은 사용자는 로그인 페이지로 리다이렉트:코드 복사
"use client"; import { useSession } from "next-auth/react"; import { useRouter } from "next/navigation"; export default function ProtectedPage() { const { data: session } = useSession(); const router = useRouter(); if (!session) { router.push("/login"); return null; } return <div>This is a protected page.</div>; }- tsx
6. 테스트 및 디버깅
- 로컬 테스트:
/api/auth/signin및/api/auth/session경로를 브라우저와 Postman으로 테스트.- Prisma Studio를 사용하여 데이터베이스에 저장된 사용자 정보 확인:코드 복사
npx prisma studio- bash
- 문제 해결:
- OAuth 인증 실패 시 Google Cloud의 리디렉션 URI 및 환경 변수 재확인.
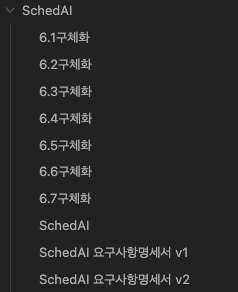
위처럼 총 7가지 개발 기획을 뽑아냈다. 원래는 8가지인데 테스트는 뺐다.
이렇게 개발 기획을 한다음, 챗지피티에 프로젝트를 생성했다.
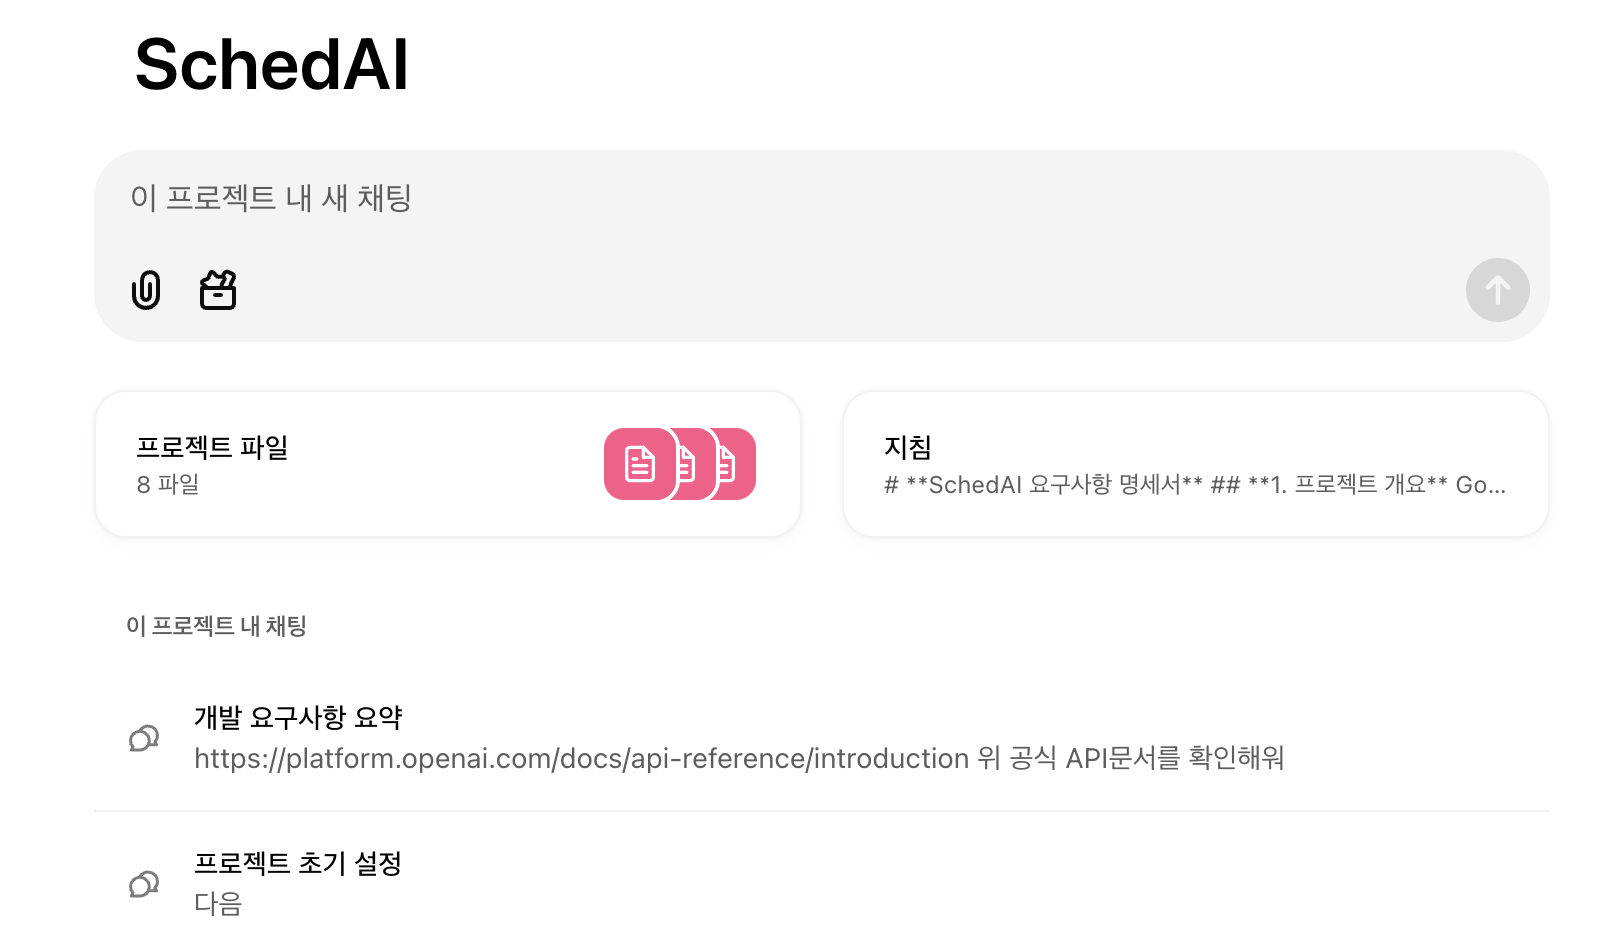
이렇게 프로젝트를 생성해서
프로젝트파일에 요구사항명세서와 하위 7가지 개발기획구체화 파일을 넘겨줬다.
그리고 개발을 시작했다.(내가 하는거 아님 주의)
모든 코드는 여기서 [https://github.com/songchez/SchedAI] 볼수 있다.
하지만 역시 시작부터 난관이였다.......ㅠㅠㅠㅜㅠㅠㅜㅠㅠ
칙쇼

반응형
'코딩' 카테고리의 다른 글
| SchedAI 개발기 ep 4. 오늘의 뻘짓 AccessToken, RefreshToken (0) | 2025.01.17 |
|---|---|
| SchedAI 개발기 ep 3. 시작되는 난관 (1) | 2025.01.16 |
| SchedAI 개발기 ep 1. 기본 기획 및 설계과정 (2) | 2025.01.15 |
| Freqtrade로 자동매매봇 만들기 (0) | 2024.05.17 |
| 코인 자동매매 프로그램을 위한 오픈소스를 찾아보자 (2) | 2024.05.17 |


